Your Cart is Empty


Finger loop anchoring. © Pete Whittaker
Crack climbing is a specialised discipline of rock climbing that revolves around ascending cracks in the rock face. Unlike face climbing, where climbers rely on features such as edges, pockets, etc. crack climbing focuses on utilising the cracks to twist, torque and expand body parts to make them stick.
Cracks come in various sizes, shapes, and orientations, from thin finger cracks that demand delicate finger tips jamming techniques to off-width cracks that require physical contortions.
The essence of crack climbing lies in the climber's ability to insert their hands, fingers, and occasionally their entire body into the crack. They have to employ techniques such as hand, finger and fist jamming, for stability and upward momentum. When things get more technical, you may encounter crack climbers using techniques known as Paddle Jams and Trout Ticklers.
Crack climbing has its own rich history and culture, with iconic locations around the world serving as crucibles for climbers seeking crack mastery. Yosemite Valley in California, Indian Creek in Utah, and the gritstone edges of England's Peak District are just a few renowned meccas that have shaped the development and evolution of crack climbing. Pick up a copy of Crack Climbing for all you need to know.

Mike Hutton making an early-morning ascent of Don Whillans’s classic gritstone hand crack The File (VS-4c) at Higgar Tor in the Peak District. © Mike Hutton
How do you start crack climbing?

Pete Whittaker. © Mike Hutton
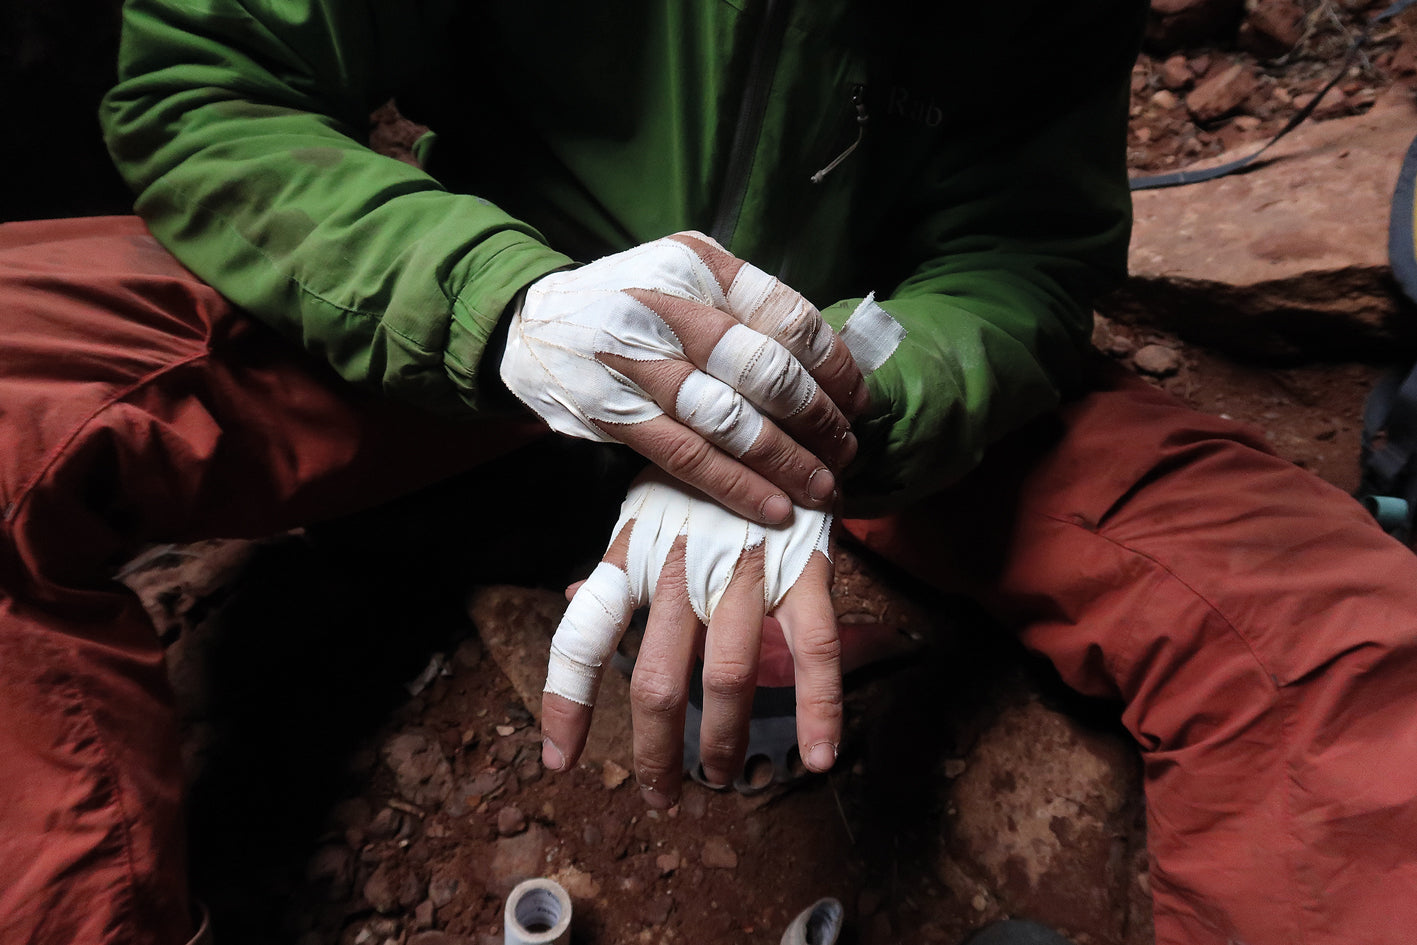
How do you tape your hands when crack climbing and what tape do you use?
Taping your hands is a common practice in crack climbing to provide protection, support, and grip on the rock. Here's the order which you may want to tape the hand. It’s worth noting that there are many different ways depending on the size of crack you are climbing and techniques you are using:
How do your heal wounds after crack climbing?
The ultimate way to treat wounds is prevention, so make sure you tape and wrap up well before you start crack climbing and not afterwards.
However, sometimes wounds can still occur and treating them requires proper care and attention. If you’re on a climbing trip, not paying attention to a cut or abrasion, it can bite you in the arse later on. That cut on day one can easily open up again in a week's time if you don’t take care of it.
This is a basic first aid process, but one I have used effectively for bad abrasions. I’ve found that by keeping the wound in a moist environment (antiseptic covered with dressing), it prevents too much scabbing and enables you to put pressure on that body part again much sooner.
Can you run through the technique of how to perform a hand jam?
The thumb-up jam is the technique that everyone is taught when they first learn how to jam. When you get this jam right, it will feel better than holding a massive jug.
1. Starting position 1 (L shape): create an L shape with your index finger and thumb; this will move the thumb away from the palm of the hand, which will relax and decrease the size of the thumb muscle at the base of the thumb. Make sure the rest of your fingers are straight like your index.
2. Starting position 2 (hand orientation): now you have the hand and fingers in the correct position, adjust the orientation of your hand so it is in its thinnest dimension in relation to the crack. Have your thumb pointing in the direction of the crack and in the direction you are going to climb. Your palm and the back of your hand will be facing the crack walls.
3. Starting position 3: don’t lock your fingers together as this will slightly expand the tissue around the joints. Any expansion of the hand before it enters the crack can mean less of the body part can be inserted, resulting in a poorer jam. It may feel insignificant on bomber hand jams, but when you come to thin hands, every millimetre counts. So, make sure your fingers are straight, but naturally relaxed.

|
 |
 |
4. Starting position 4 (insertion): insert your hand into the crack fingertips/side of the hand first. As with any jam you should be looking to place the jam passively, so be sure to look for any constrictions in the crack which you can take advantage of.
5. Thumb movement: this action is the most important aspect of a hand jam. Rotate your thumb (in parallel with the crack) into the centre of your palm and try to touch the tip of your thumb to the base of your pinkie finger: don’t move your pinkie finger. In most cases there won’t be enough space for the thumb to touch the pinkie finger, and on thin jams the thumb won’t even go into the centre of the palm; however, whether there is room or not, the action remains the same: thumb forced towards the pinkie finger. This movement of the thumb creates expansion of the pulp at the base of the thumb against the crack wall, which keeps the jam in place. It’s important to do this thumb movement before cupping (step 6) to ensure you can get the thumb as close to the pinkie finger as possible. Cupping first will restrict this action.
6. Cupping: even if the hand is initially placed passively, an active expansion jam should be used to keep the hand in place. Keeping the fingers straight, push your fingertip pads and the heel of your palm against one crack wall, and the backs of your knuckles and hand against the opposing wall. You’ll be making a cup shape with your hand and will have three contact points against the crack walls: fingertips; heel of palm; knuckles/back of hand.
7. As you have used a thumb-up jam, your forearm will be nicely in line with the crack, so there is no need for any extra movement to bring the rest of the arm in line.
8. Expansion created with the hand, along with an in-line downward pull from the weight of your body, creates a solid jam, which works in a similar way to a camming device.
9. An exception to the ‘keep everything in line with the crack’ rule can be used for resting. If you lean your body out of the line of the crack you can get the front (or back) of your wrist to lie against the edge of the crack, which cams the back (or front) of your hand into the crack wall harder and relieves the pressure on the thumb muscle.
What equipment do I need and what are the best shoes for climbing cracks?
You do not need that much equipment to start crack climbing.
Aside from the climbing essentials like shoes and chalk, some extra things that you may consider are:
Like with most climbing, there is a shoe for every style. Crack climbing is no exception and different shoe types work well for different widths and styles of cracks. I made an informative video (below), which takes you through the intricacies of shoe choice when crack climbing.


